


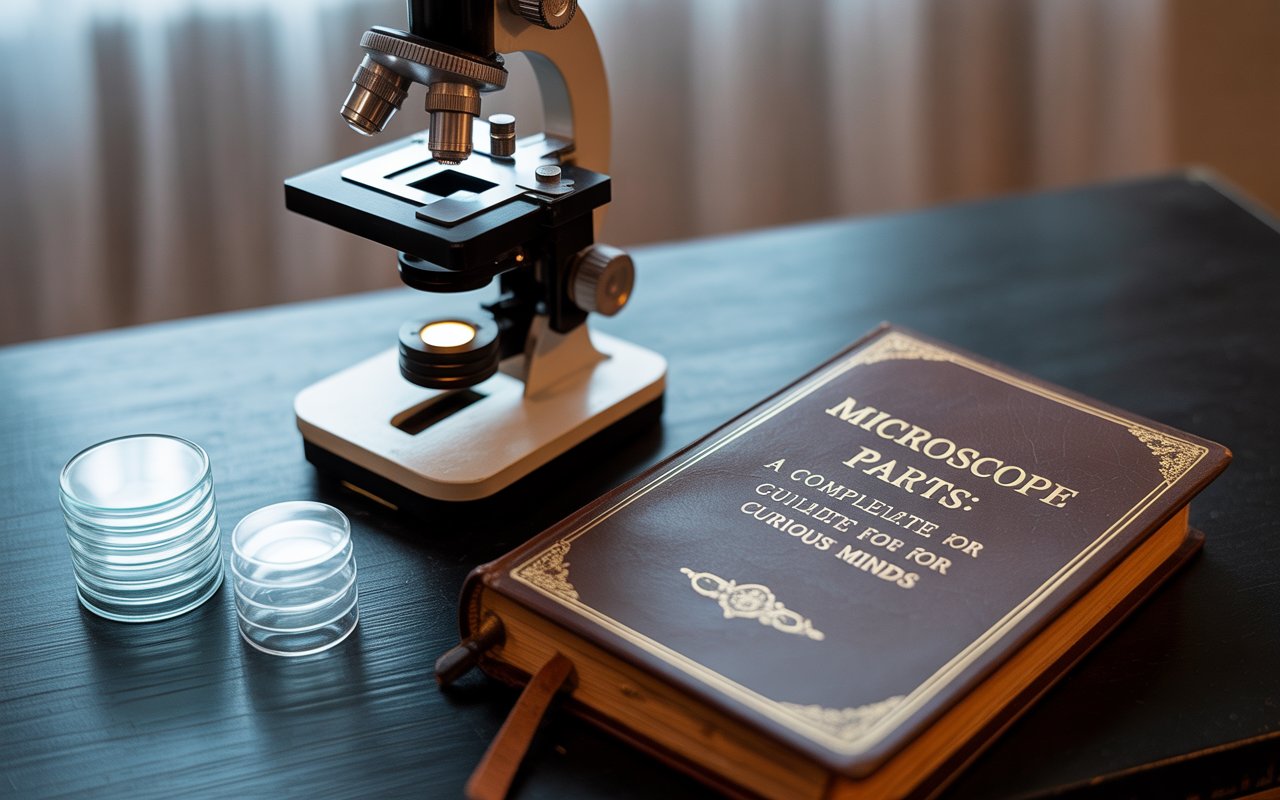
Microscope Parts: A Complete Guide for Curious Minds
Have you ever peered through a microscope and felt like you’d just opened a secret doorway into another world? Tiny cells bustling with life, intricate structures invisible to the naked eye, and endless mysteries waiting to be uncovered—all become clear thanks to this incredible invention. But to truly appreciate how a microscope works, it’s helpful to understand its different parts and how they all come together like a well-rehearsed orchestra.
Whether you’re a student, hobbyist, or just curious, this comprehensive guide will walk you through each essential component in a simple, easy-to-follow way. Think of this as a friendly tour inside one of science’s most fascinating tools.
The Magic of Microscopes: Why Their Parts Matter
Before diving into the nuts and bolts, let’s pause for a moment. A microscope is like a storytelling device. Each part plays a role in turning invisible subjects into vivid, magnified images. If even one part is missing or misaligned, the “story” can become blurry, distorted, or lost altogether. Understanding these components helps you use, maintain, and even troubleshoot the instrument with confidence.
The Base: A Solid Foundation
Every sturdy building begins with a strong foundation, and a microscope is no different.
The base is the bottom part that supports the entire structure. It keeps the microscope stable during use, especially when making fine adjustments. In many modern designs, the base also houses built-in light sources, such as LED or halogen bulbs, that shine upward to illuminate the specimen.
Why it matters: Without a firm base, even the tiniest vibration could distort your view under high magnification. A good base ensures steadiness, just like a steady hand ensures a sharp photograph.
The Arm: The Backbone of the Microscope

Imagine the arm as the spine that connects the lower and upper parts. It extends upward from the base and supports the head and optical components.
The arm also acts as a handle for carrying the microscope. If you’ve ever moved one in a lab setting, you were likely instructed to hold it by the arm with one hand and support the base with the other—classic lab etiquette.
Tip: Always carry a microscope this way to avoid accidental damage.
The Stage: The Specimen’s Platform
Think of the stage as a theater stage, and the specimen as the star of the show. This flat platform is where you place the glass slide containing the specimen.
Most stages have metal clips or a mechanical stage to hold the slide securely in place. The mechanical version comes with knobs that allow smooth movement in the X (side-to-side) and Y (forward-backward) directions, helping you precisely position your sample under the objective lens.
Pro insight: Centering your specimen carefully on the stage ensures that what you want to view remains in focus as you change magnification levels.
Stage Clips and Mechanical Stage Controls
While simple clips are common in student microscopes, mechanical stages are a game-changer for more advanced observation.
Stage clips simply hold the slide down, but mechanical controls allow for smooth and exact slide movement. By turning the knobs, you can gently scan across the slide without having to lift or adjust it manually.
Why it’s helpful: Imagine trying to explore a map with shaky hands. Mechanical controls let you “travel” across your specimen with precision, revealing details you might otherwise miss.
Illuminator and Light Source: Shedding Light on the Details
Good lighting can make or break a microscopic image. Older microscopes relied on mirrors to reflect ambient light up through the specimen. Modern ones usually have built-in illuminators—either LED or halogen bulbs—mounted in the base.
The light travels upward through the condenser and the specimen, allowing clear visualization of fine details. Adjustable brightness controls help you modify the intensity depending on what you’re examining.
Analogy: Think of the illuminator as a spotlight on a stage performance. Without it, the audience (your eyes) would be left in the dark.
Condenser and Diaphragm: Mastering the Light Beam
Beneath the stage, you’ll find the condenser lens. Its job is to focus and direct the light onto the specimen. Alongside it is the diaphragm, a device that controls the amount of light passing through.
Different specimens and magnifications require different light intensities. Too much light can wash out details; too little can make the image too dim. Adjusting the diaphragm helps achieve the right balance.
Practical tip: If your image looks hazy, try adjusting the condenser height or diaphragm setting before touching the focus knobs.
Objective Lenses: The Powerhouses of Magnification
These are arguably the most critical components. Objective lenses are mounted on a revolving nosepiece and come in different magnification powers, commonly 4×, 10×, 40×, and 100× (oil immersion).
-
Low-power objectives (4×, 10×): Great for scanning and locating the specimen.
-
High-power objectives (40×): Ideal for studying details within cells or structures.
-
Oil immersion objective (100×): Used with a special oil to achieve ultra-clear, high-magnification views, often in professional labs.
Rotating the nosepiece switches between these lenses seamlessly. Each click aligns a new lens into position, changing the level of detail you can see.
Fun fact: The total magnification is calculated by multiplying the ocular lens (usually 10×) with the objective lens power. So, a 40× objective gives you 400× total magnification.
Revolving Nosepiece: Switching Perspectives
The nosepiece, sometimes called the turret, holds multiple objective lenses and allows easy rotation between them. It ensures each lens snaps into precise alignment.
This component makes it possible to smoothly transition from a broad overview to fine details—much like zooming in on a camera lens to get closer to your subject.
Eyepiece (Ocular Lens): Your Window into the Micro World
At the very top sits the eyepiece, where you look through to see the magnified image. The standard eyepiece magnifies 10×, but some microscopes offer variable magnifications.
Many modern microscopes feature binocular eyepieces (two lenses), making extended viewing more comfortable and less straining on the eyes compared to monocular versions (one lens). Some even have adjustable interpupillary distance to match different users’ eye spacing.
Pro tip: Keep your eyepiece lenses clean using lens paper to avoid smudges and blurry views.
Coarse and Fine Adjustment Knobs: Bringing the Picture into Focus
If the objective lenses are the muscles, the focus knobs are the hands that fine-tune everything.
-
Coarse adjustment knob: Moves the stage quickly up or down to bring the specimen roughly into focus.
-
Fine adjustment knob: Makes small, precise movements to sharpen the image once it’s almost clear.
When using high-power objectives, only the fine knob should be used to prevent the lens from crashing into the slide.
Metaphor: Think of coarse adjustment as adjusting the stage lighting before a play, and fine adjustment as dimming or brightening specific spotlights for the perfect scene.
Head and Body Tube: Aligning the Optical Path
The head (or body tube) is the part that connects the eyepiece to the objective lenses. Its job is to ensure perfect optical alignment so that the image remains crisp and properly directed to your eyes.
In binocular microscopes, the head often includes a prism system to split and direct light to both eyepieces equally. Some heads can be tilted or rotated, making it easier to share views with others during demonstrations.
Additional Features in Modern Microscopes
While the basic structure remains the same, modern microscopes often come with bonus features that enhance usability:
-
Built-in cameras for capturing digital images.
-
USB or Wi-Fi connectivity for projecting images onto screens.
-
Ergonomic designs to reduce strain during long sessions.
-
Special filters to improve contrast for transparent specimens.
These upgrades make microscopes not just scientific instruments but also educational and collaborative tools.
Caring for Your Microscope: A Few Simple Habits
Understanding the parts is only half the story—caring for them ensures long-term accuracy and performance. Here are some quick care tips:
-
Always cover the microscope after use to keep dust away.
-
Use lens paper, not tissues, to clean lenses.
-
Handle slides gently to avoid scratching objectives.
-
Store in a dry, stable environment to prevent damage.
Regular maintenance goes a long way in preserving your instrument’s life.
Wrapping Up: A World Unveiled Through Precision
A microscope isn’t just a single device—it’s a team of parts working together to reveal hidden wonders. From the base that provides stability to the lenses that magnify life’s tiniest details, every component plays its part in making the invisible visible.
Whether you’re looking at plant cells for a school project or analyzing bacteria in a lab, knowing the role of each part gives you more control and appreciation for what you’re seeing. Like understanding the keys on a piano before playing a melody, mastering the parts of a microscope sets the stage for meaningful exploration.
FAQs About Microscope Parts
1. What are the three main parts of a microscope?
The three main sections are the base, the arm, and the head. These form the structure that holds optical and mechanical components in place.
2. Why is the objective lens considered the most important part?
Because it provides the primary magnification and determines how much detail you can see. The eyepiece only enlarges the image produced by the objective.
3. Can I clean microscope lenses with regular tissues?
No. Regular tissues can scratch delicate lens surfaces. Always use lens paper or a soft microfiber cloth designed for optical instruments.
4. What’s the difference between coarse and fine adjustment knobs?
The coarse knob is for quick, rough focusing, while the fine knob allows for precise, delicate adjustments to sharpen the image.
5. Do modern microscopes still use mirrors for light?
Some simple or portable models may use mirrors, but most modern microscopes have built-in light sources like LEDs for consistent illumination.